레이아웃 위젯
상중하 위젯 : Scaffold()
MaterialApp(
  home: Scaffold(
    appBar: 상단에 넣을 위젯,
    body: 중단에 넣을 위젯,
    bottomNavigationBar: 하단에 넣을 위젯,
  )
);- appBar : 상단
- 자주 쓰는 파라미터
- title: 왼쪽 제목 - appBar: AppBar(title: Text(**'앱임'**))
- leading: 왼쪽에 넣은 아이콘 - appBar: AppBar(leading: Icon(Icons.star))
- title과 leading 같이 사용 가능
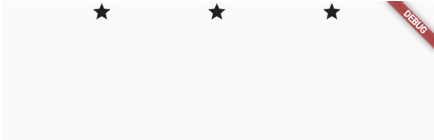
- actions: [] - 우측아이콘들 - appBar: AppBar(actions: [Icon(Icons.star), Icon(Icon.star)]
- 자주 쓰는 파라미터
AppBar(
  title : Text('앱제목'),
  leading : Icon(Icons.star),
  actions : [ Icon(Icons.star), Icon(Icons.star) ]
)- body : 중간
- bottomNavigationBar : 하단
MaterialApp(
  home: Scaffold(
    appBar: AppBar( title: Text('앱제목') ),
    body: Text('안녕'),
    bottomNavigationBar: BottomAppBar( child: Text('하단바임 ㅅㄱ') ),
  )
);
여러 위젯 가로로 배치하는 법
- Row( children: [ ] )
MaterialApp(
home: Scaffold(
body: Row(
children: [ Icon(Icons.star), Icon(Icons.star), Icon(Icons.star) ]
),
)
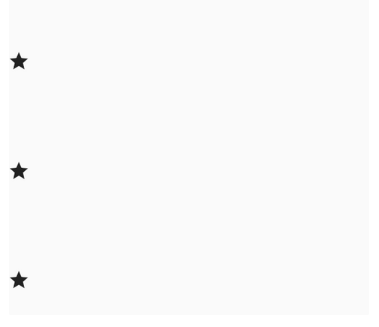
);여러 위젯 세로로 배치하는 법
- Column( children: [ ] )
MaterialApp(
  home: Scaffold(
    body: Column(
      children: [ Icon(Icons.star), Icon(Icons.star), Icon(Icons.star) ]
    ),
  )
);
가로로 배치하는 간격 조절
- mainAxisAlignment → 가로 정렬
- spaceEvenly → 모든 여백 동일
- .spaceBetween → 좌우 끝에 우선 배치
- .spaceAround → 모든 여백 동일인데 좌우 마지막 여백은 절반만큼
- .start → 시작 부분에 다 모여
- .end → 끝 부분에 다 모여
- .center → 중간에 다 모여
MaterialApp(
  home: Scaffold(
    body: Column(
      mainAxisAlignment: MainAxisAlignment.spaceEvenly,
      children: [ Icon(Icons.star), Icon(Icons.star), Icon(Icons.star) ]
    ),
  )
);
세로로 배치하는 간격 조절
- crossAxisAlignment → 세로 정렬
body: Container (
  color: Colors.grey,
  height : 400,  //높이 넣어야 세로정렬 가능할듯
  child : Row (
    crossAxisAlignment: CrossAxisAlignment.start,
    children: const [
      Icon(Icons.star),
      Icon(Icons.star),
      Icon(Icons.star),
    ],
  ),
),
예제
import 'package:flutter/material.dart';
void main() {
runApp(const MyApp());
}
class MyApp extends StatelessWidget {
const MyApp({Key? key}) : super(key: key);
@override
Widget build(BuildContext context) {
return MaterialApp(
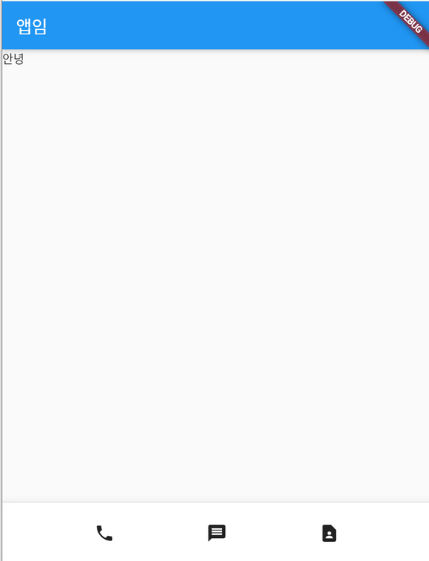
home: Scaffold(
appBar: AppBar(title: Text('앱임')),
body: Text('안녕'),
bottomNavigationBar: BottomAppBar(
child: SizedBox(
height: 70,
child: Row(
mainAxisAlignment: MainAxisAlignment.spaceEvenly,
children: [
Icon(Icons.phone),
Icon(Icons.message),
Icon(Icons.contact_page)
]
),
),),
)
);
}
}Flexible 위젯
- Row() 안에 박스를 여러 개 배치할 때 박스의 폭을 고정된 숫자가 아니라 %로 지정해주고 싶을 때 쓰는 것
- flex → 이 박스가 얼마나 가로폭을 차지할지 결정하는 "배수"이다.
- 1과 2를 써놓으면 1대 2만큼 차지
- 1과 1을 써놓으면 1대 1만큼 차지
- flex → 이 박스가 얼마나 가로폭을 차지할지 결정하는 "배수"이다.
Row(
  children : [
    Flexible( child: Container(color : Colors.blue), flex : 1 ),
    Flexible( child: Container(Color : Colors.green), flex : 1 )
  ]
)
Expanded 위젯
- 하나의 박스만 가로폭을 꽉 채우고 싶으면
Row(
  children : [
    Expanded( child: Container(color : Colors.blue), flex : 1 ),
    Container(Color : Colors.green, width : 100),
  ]
)
예제
import 'package:flutter/material.dart';
void main() {
runApp(const MyApp());
}
class MyApp extends StatelessWidget {
const MyApp({Key? key}) : super(key: key);
@override
Widget build(BuildContext context) {
return MaterialApp(
home: Scaffold(
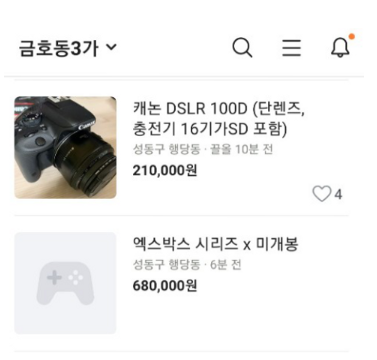
appBar: AppBar(title: Text('금호동3가'), actions: [Icon(Icons.search), Icon(Icons.add_alert)],),
body: Container (
height: 150,
padding: EdgeInsets.fromLTRB(5, 10, 10, 10),
child: Row(
children: [
Flexible(child: Image.asset('assets/dog.png', width: 150), flex: 3,),
Flexible(flex: 7,child: Container(
child: Column (
crossAxisAlignment: CrossAxisAlignment.start,
children: [
Text('캐논 DSLR 100D (단렌즈, 충전기 16기가SD 포함)', style: TextStyle(fontSize: 18),),
Text('성동구 행당동 끌올 10분 전', style: TextStyle(color: Colors.grey, fontSize: 15),),
Text('210,000원', style: TextStyle(fontSize: 16),),
Row(
mainAxisAlignment: MainAxisAlignment.end,
children: [
Icon(Icons.favorite),
Text('4')
],
)
],
),
),
)
],
)
)
)
);
}
}커스텀 위젯
💡 레이아웃 위젯이 너무 길 때 커스텀 위젯을 사용하면 됨
만드는 방법
- stless 작성 후 탭 키 누르면 커스텀 위젯을 작성할 수 있는 코드가 생성됨
class 클래스명 extends StatelessWidget {
  const ({Key? key}) : super(key: key);

  @override
  Widget build(BuildContext context) {
    return 작성할 코드;
  }
}- ex → 긴 코드를 제거한 후 새로 만든 클래스에 삽입하고 함수명을 작성해주면 됨
class MyApp extends StatelessWidget {
  const MyApp({Key? key}) : super(key: key);

  @override
  Widget build(BuildContext context) {
    return MaterialApp(
        home: Scaffold(
          appBar: AppBar(title: Text('금호동3가'), actions: [Icon(Icons.search), Icon(Icons.add_alert)],),
          body: ShopItem()
        )
    );
  }
}

class ShopItem extends StatelessWidget {
  const ShopItem({Key? key}) : super(key: key);

  @override
  Widget build(BuildContext context) {
    return SizedBox(
      child: Text('안녕'),
    );
  }
}- 변수에 담아서 사용해도 됨
class MyApp extends StatelessWidget {
  const MyApp({Key? key}) : super(key: key);

  @override
  Widget build(BuildContext context) {
    return MaterialApp(
        home: Scaffold(
          appBar: AppBar(title: Text('금호동3가'), actions: [Icon(Icons.search), Icon(Icons.add_alert)],),
          body: a
        )
    );
  }
}

var a = SizedBox(
  child: Text('안녕'),
);
ListView 위젯
장점
- 무한스크롤됨
- 데이터만 있으면 자동으로 반복문 돌려줌
- 지나간 목록은 삭제해서 메모리 아낄 수 있음
ListView(
  children: [
    Text('안녕'),
    Text('안녕'),
    Text('안녕'),
  ],
)
예제
class MyApp extends StatelessWidget {
const MyApp({Key? key}) : super(key: key);
@override
Widget build(BuildContext context) {
return MaterialApp(
home: Scaffold(
appBar: AppBar(),
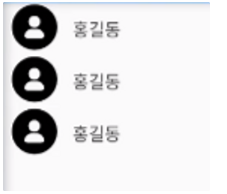
body: ListView(
children: [
ListTile(
leading: Icon(Icons.account_circle_rounded),
title: Text('홍길동'),
),
ListTile(
leading: Icon(Icons.account_circle_rounded),
title: Text('홍길동'),
),
ListTile(
leading: Icon(Icons.account_circle_rounded),
title: Text('홍길동'),
)
],
),
bottomNavigationBar: BottomBar()
)
);
}
}
class BottomBar extends StatelessWidget {
const BottomBar({Key? key}) : super(key: key);
@override
Widget build(BuildContext context) {
return BottomAppBar(
height: 70,
child: Row(
mainAxisAlignment: MainAxisAlignment.spaceEvenly,
children: [
Icon(Icons.phone),
Icon(Icons.message),
Icon(Icons.contact_page)
],
),
);
}
}ListView.builder() → 자동 반복 함수
MaterialApp(
home: Scaffold(
appBar: AppBar(),
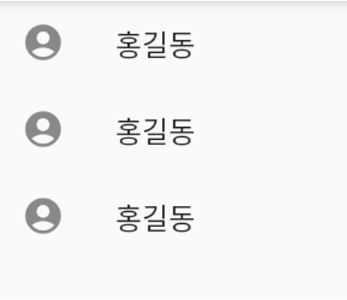
body: ListView.builder(
itemCount: 반복 횟수,
itemBuilder: (c, i) {
return 반복할 함수
},
)
)
);MaterialApp(
home: Scaffold(
appBar: AppBar(),
body: ListView.builder(
itemCount: 3,
itemBuilder: (c, i) {
return ListTile(
leading: Icon(Icons.account_circle_rounded),
title: Text('홍길동'),
);
},
)
)
);
'Web & Android > Flutter' 카테고리의 다른 글
| [Flutter] 권한 팝업 요청 기능 (0) | 2023.09.12 |
|---|---|
| [Flutter] 버튼에 기능 부여하는 법 (0) | 2023.09.12 |
| [Flutter] Lint 관련 워닝 무시하는 법 (0) | 2023.09.12 |
| [Flutter] 위젯(글자, 아이콘, 네모박스, 버튼) (1) | 2023.09.07 |
| [Flutter] 안드로이드 스튜디오 Dart / Flutter 플러그인 설치 (0) | 2023.09.06 |